It was such a treat to have our new baby chicks and ducklings arrive two days before Easter! It is so fun to have babies in the house!! We bought 8 chicks and 4 ducklings from a NH woman who sells them on Craig's list. We are so excited to see how the Speckled Sussex chicks are going to look as adults. They are the reddish ones in the pic below. We also bought 1 Barred Rock which is the black and white one and 1 Buff Orpington which is the yellow one with it's head turned back. The Buff Orpington was a must to replace Mollies chicken Fluffy who didn't survive a dog attack:(

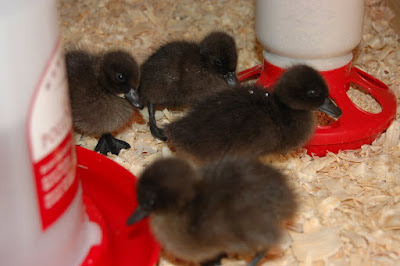
Here are our beautiful little Cayuga Ducklings! They are so sweet and cute and soft!! They have a much different personality than the chicks, far more easy going and docile. I chose this breed after researching a little and finding out that they are much quieter and tend to be more docile than other breeds. Plus the male becomes a beautiful greenish back color when full grown. They are also very hardy in colder climates.
Our other babies are veggies!!! This is the grow table that Pat built so that we could start lots of seedlings inside without having to put them all on the kitchen table. We also added artificial lighting to help the plants to not become leggy. Under the shelves on the floor is our brooder. We can keep the chicks and duck warm and heat the soil for the seedlings at the same time!! Nothing like multipurpose!

Here is the side view and James checking on the chicks.
 Our real Easter babies on Sunday morning at church were the cutest though!!! The girls are sporting the little cardi sweaters that I started as Christmas presents but ended up not being finished until last week! They were perfect for Easter though! The pattern for the sweaters and the little purses can be found on the Lionbrand Yarn website.


